Tuesday, March 20, 2012

Thing 3???


Yes now it's time for Thing Daughter 3's room. She is quite a bit younger than my other two daughters (9 and 11 years younger). Her room is in transition, if you will. She still likes the young girl ideas and looks, yet she sees her older sister's rooms and wants more grown-up things like theirs. So we have a mish-mash of design and colors in her room. Her favorite color is now black, so when I make things for her room, I try to incorporate it in when possible-when its something I think she will still want in her teenage years.

Thing Daughter 3's pillows:
About a year ago when I was visiting my sister in Seattle, I came across this quilt square from littlemissshabby.blogspot.com and thought it would make a really cute pillow for my daughter's daybed.
But rather than using a bunch of scraps to make it, I bought 1/8 yard of 5 different fabrics at my sister's favorite quilt shop. (Not cheap going that route). Well when I got home from my trip and showed her a picture and the fabrics, she told me she didn't like them - she wanted to change the colors of her room and have more black. Because none of the fabrics I bought had black, they stayed in the bag collecting dust. After making Thing 1 & Thing 2's pillows, 
I decided that I was going to go ahead and make the one for Thing 3. 

I used the tutorial (above) with a little change. 
I used the strip quilt technique to put together smaller squares.

Fabric needed (if not using scraps):
1/8 yard of at least 4 different fabrics
1 yard of solid (this will also be used to create the envelope back)

Cut fabrics in 1 1/2 inch strips.

Sew the strips together using a 1/4 inch seam allowance.

Press the seams all one direction.

Cut the sewn strips in 1 1/2 inch strips (going the opposite direction.)

Sew the strips you just cut together. From there I followed her tutorial.


To create envelope back:
Cut two rectangles the width of your pillow + 1/2 inch x half the length of your pillow + 2 1/2
My pillow ended up being 13x13 so my envelope pieces were 9 x 13 1/2.
Then follow the first four steps from this post here.

NOTE: If you follow what I did (5 x 5 square in the center) you will end up with a 13" pillow. Pillow forms come in even numbers-12, 14, 16, etc. I had to make my own pillow forms. I used muslin, cut it into 14x14 squares. I used 1/2 seam allowances. Sewed 3 complete sides and on the fourth side I left about 3 inches open. I then stuffed it will polyfil and sewed it closed.

Finished product:

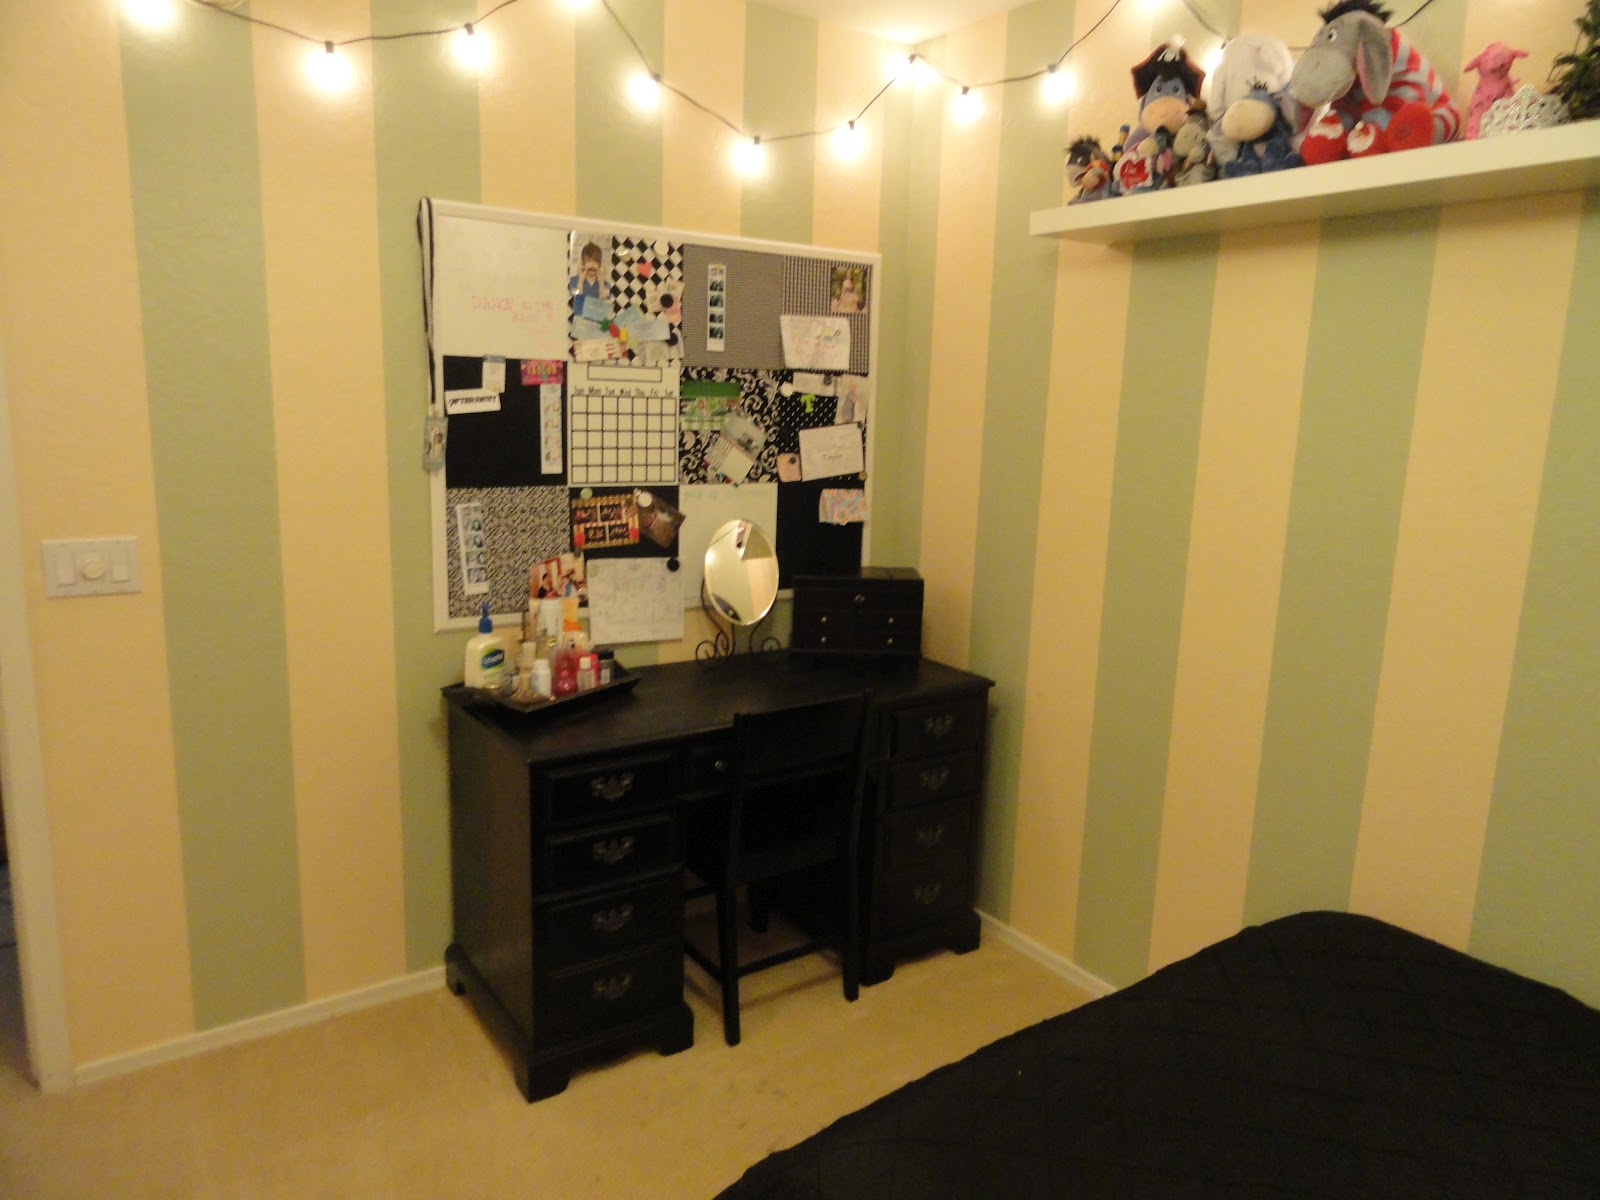
No pictures of Thing 3's room - I can keep it clean long enough to get pictures. Next time it is, I will snap a couple and post them.


Wednesday, March 14, 2012

Luck of the Irish

I love decorating for the holidays - no matter how small the holiday.  I don't have much for St Patrick's Day, so I have made some that I thought I would share with you.  

Saturday I was at JoAnn's Etc (for another project which I will show you in a later post). While I was there I got the idea to make a St. Patrick's banner.  While I was at the store I googled DIY St. Patrick's banner on my phone, then selected images. u-createcrafts.com is where I found my inspiration. 
This is the one that I ended up doing.
I know-I already raised it up a little bit more so that it doesn't hit the tv. I also need to make/find St. Patrick's decor to put on the shelf. I just haven't found anything I like.
I cut the banner out of pages from a book that I bought at Goodwill for $0.75. I looked for a book that had yellowed pages so it looked old. I added stitching to the edges of my book pages. I happen to have my sewing machine out and thought I would see how it looked and ended up really liking it. I made mine with four leaf clovers instead of three, which I cut using my Cricut. I added a black border to the shamrocks to help them stand out more. Since there's gold at the end of the rainbow, I decided to put gold buttons instead of white.

My version of specimen art. I made one for Valentines Day, but forgot to get pictures of it. 
Again I used my Cricut to cut the shamrocks and the LUCKY. I used dimensionals so they are raised up.


And then there's my ledge...it needs more, but again I haven't found much that I like, so I need to get my creative juices flowing and make some stuff. But that will have to wait until next year. I'm already working on Easter/Spring decorations. Once they are done, I will post them.
I got the rainbow printable from funkypolkadotgiraffe. I created the subway art on picnik.com (which I am so sad it is going away-I love that site!) The glitter covered shamrocks I got at JoAnn's 50% off.

I hope everyone remembers to wear green! I hope every one has a Happy St Patrick's day!


Tuesday, March 13, 2012

Thing 1 and Thing 2


My two oldest daughters are best friends, which is such a blessing!  They are 2 1/2 years apart, but now that they are both in high school, you really wouldn't know which one is older. It's as if they are twins
(except one has really blonde hair and the other has dark brown hair). 

So when I do something for one, I have to do something for the other.  So when I made pillows for one of their rooms, I had to make some for the other ones room. So here are pictures of Thing Daughter 2's room:
This is the inspiration for the room. She wanted stripes on her wall, so we pulled two colors from this poster.
My daughter is very creative and has a good eye. She is the one that came up with the stripes and draping the lights around the room (before Thing Daughter 1 wanted hers). She wanted something more than Christmas lights. We found these in the patio section at Target (and then waited for them to go on sale). 
If you noticed, her furniture is three different colors (dresser and shelf-white, bed and nightstand-brown and desk and chair-black) We had talked about painting everything either black or white, but then she decided that she liked it as is. So no changes needed.
She wants a long mirror to the left of her desk. We just haven't found one that she like that fits our budget.
Her PB Teen inspired bulletin board. Looks the same, huh? Well it basically is. The fabrics we chose worked for all three girls, so they are the same (the one exception is that my youngest daughters is only 3x3 squares-pictures of her room coming soon).

And of course we can't forget her pillows:
It's hard to tell here, but the green matches the stripe that is in her wall.


Friday, March 9, 2012

Is it a Resolution or just a Goal?

I have gotten the itch to organize more and to start/finish projects that I have wanted to do.  This started at the beginning of the year, so I don't know if you'd call it a resolution or if it's just another "project" for me to do or not do. Either way, I have begun. 

My plan is to go through each room/closet in the house and take everything out, go through it and reorganize it to make it easier to find and use.  And as I am in each room I am completing projects that I have wanted for that particular room. Since I'm new to this blog thing, I forget to take pictures. So you will just have to believe me when I say that I have redone my closet, my dresser drawers (like you'd want to see that anyway) and my coat closet. The closet that never ends. It goes all the way back under the stairs, so lots of junk gets shoved in there. 

I did remember to take pictures of my next project though. That is of pillows that I have done for my older two girls rooms. I have had a very difficult time finding decorative pillows that match the colors of their rooms. So I decided that I would make some. Well that has been a challenge too, because I still had issues finding the right colors.  I happened to be in Ross shopping when I had the idea to check for pillowcases that may work. And what do you know, I found some for both of their rooms. So without further rambling here are pictures of the pillows and their rooms:


(Yes those are Christmas lights draped around the room. She wanted the lights, but I didn't have any with white cords, so she got the green cords until next Christmas when I can get some with white)

I have always liked the bulletin boards at PB Teen, but did not like the $300+ price tag. So I made each of my girls one. I make them a couple of years ago, before starting the blog, so I don't have a tutorial or all the details. Sorry!! (If you are really interested, email me and I can give you as much info as I can) 

And of course what teen age room wouldn't have posters?

Here is how I made them:

My fabric came from two king size pillow cases, 
so I don't have the exact amount if you are purchasing it by the yard.

For the bow pillow, I used the tutorial from e-tells-tales.com
I made my mine 16x16 pillow forms so these are the measurements of the pieces I used:
1 - 16 1/2" x 16 1/2" square (for the front)
2 - 11" x 16 1/2" rectangles (for the envelope back)
2 - 6" x 18" rectangles (for back of bow)
2 - 6" x 22" rectangles (for bow loops)
2 - 2 1/2" x 5 1/2" rectangles (for center of bow)
NOTE: she uses 1/4 inch seam allowances - allow 1/2 inch more to each measurement if you want to have 1/2 inch seam allowances

For the gathered pillow, I got inspirations from imperfectlybeautifulms.blogspot.com
but there wasn't a tutorial, so I had to wing it. This is how I did mine:

1 - 12" x 16" pillow form
2 - 10" x 13" rectangles (for envelope back)
1 - 33 1/2" x 13" rectangle (for the gathered front)
NOTE - I highly recommend using 1/2 inch seam allowances when working with the gathered edges. It gives you more room to work with.

First I got the back "envelope" ready by folding down and pressing 1/4 inch, then folded it 1/4 inch again.
Then sewed along the inside edge.
Then laid them out, overlapping the center, so that I had 17" in length. I also placed a pin at the center and quarter marks. This is to help space out the gathering so that it is more equal.
Baste stitch along the top and bottom edges of the front. Pin the center and quarter marks.
Gather, matching up the center and quarter mark pins as you go. Pin all four sides, then sew.
Turn right side out and insert pillow form. Spread fabric across until you have the desired folds that you want.
Didn't they turn out soooo cute!  
One of my daughters was half-hearted about the pillows before I started them, 
but once I finished, she really liked them.


Thursday, March 1, 2012

Backyard Wedding

I have been busy working with my good friend Alyssa from Adorable AnticsWe have been working on our friend's wedding. It was a small and casual backyard wedding. We had a lot of fun bouncing ideas off each other and coming up with great ideas in the end.  Here are some of the pictures:

Drinks and Cupcakes:

Inside seating

One of the outside tables

Another outside table

Ceremony backdrop
It was a little windy so our rose petals got blown around. The ceremony backdrop also blew over twice. Luckily it was before the ceremony. We were able to figure out how to keep it up so it wouldn't blow over during the ceremony.

Along the aisle

Back patio

Pictures of the couple as kids and together

Part of the food spread

Rest of the food

Close-up to show the labels for the food

Entry "Well Wishes" table

"Our Love Story" gift table

"Our Love Story"
We got the idea from here

I have also been working on other projects that I will post soon.