I know I'm a little slow posting these. My decorations have been up since Thanksgiving weekend, but I just didn't get around to taking the pictures until today. I usually have my shopping done just after Black Friday, but not this year. I finished up yesterday. So now I'm finally sitting down and enjoying the decorations.

 Inspiration


There aren't many fireplaces in Phoenix, so this is my mantel if you will. I use to put my nutcracker collection here, but changed it up this year after I made the NOEL and the subway art.


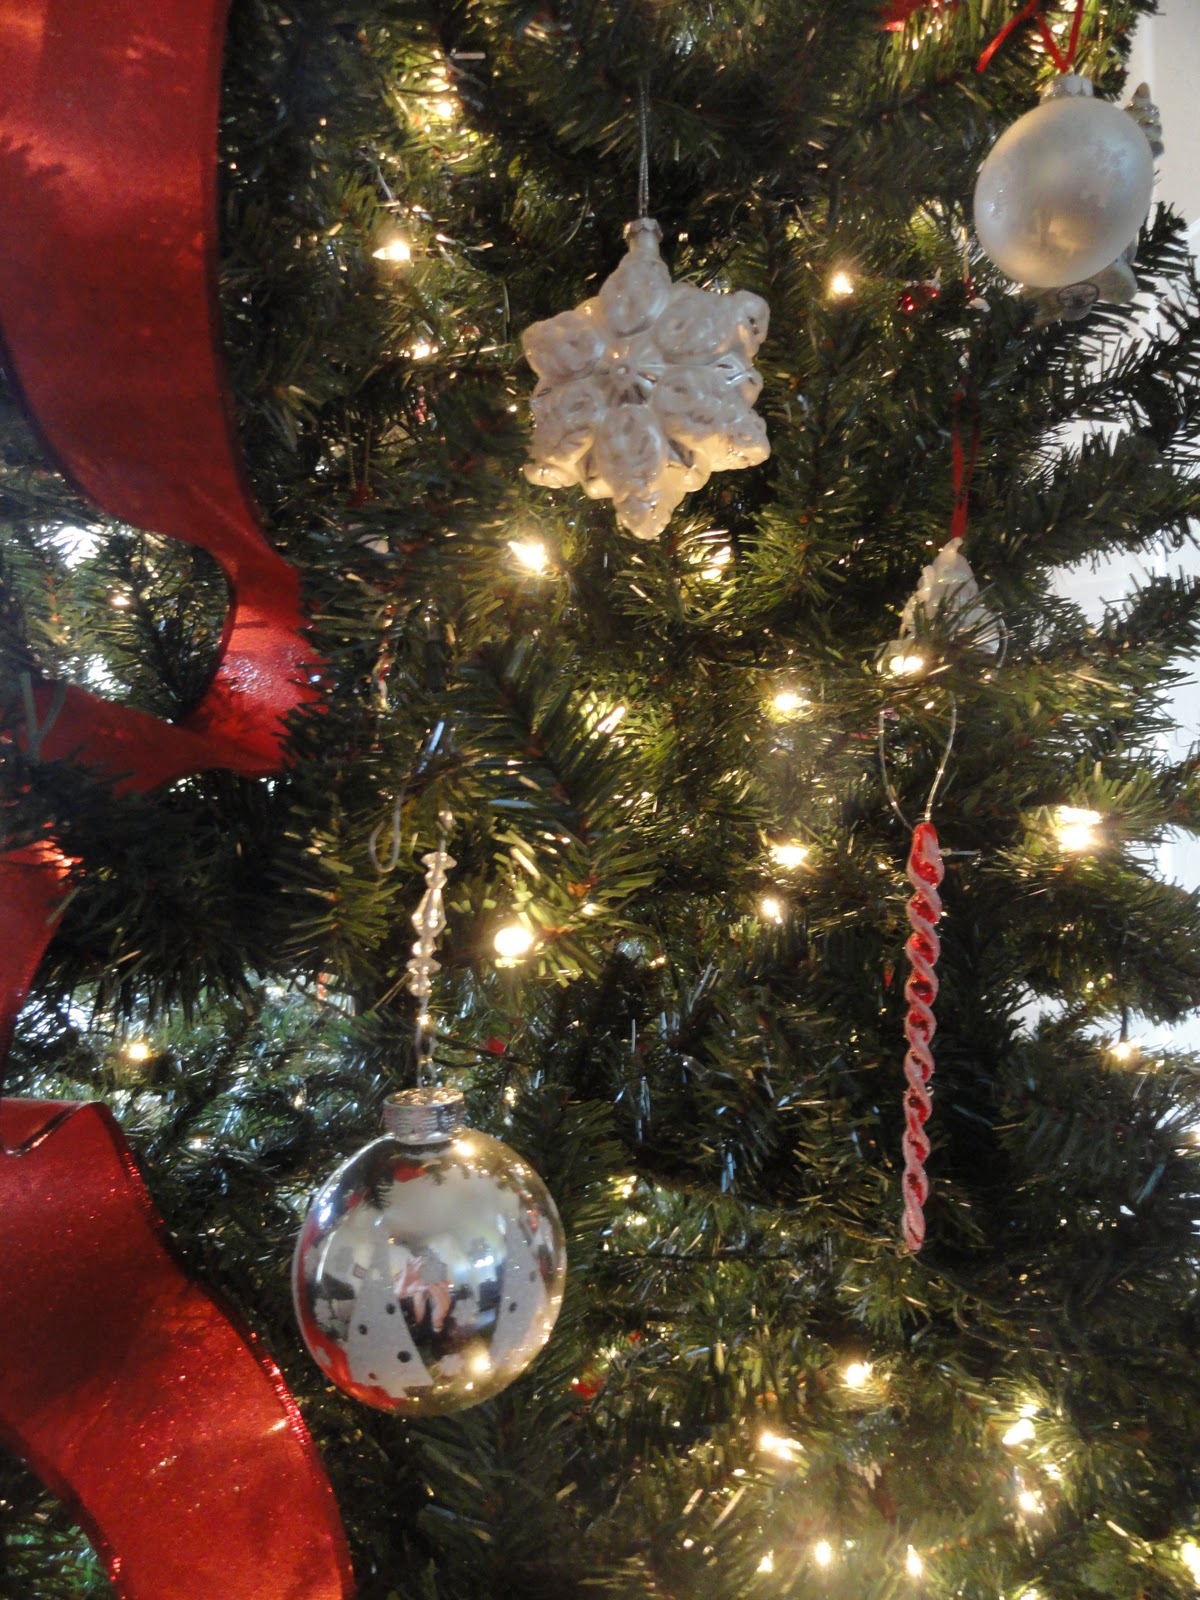
I have two girls from a prior marriage and as a result we have them for Christmas every other year. So I made a deal with them about 5 years ago, that the years that they are with us they get to decide how to decorate the tree and when they are with their dad, I get to pick how it is decorated. So they do it in bright colors like hot pink, turquoise, bright green and orange. It turns out really cute. But this year since they are with their dad, it's my turn to decide. So I decided on red, white and silver. I had this in mind a few years ago, so after Christmas for the last 2 years, I bought ornaments when they are 50% off or more, plus I went through all the ornaments that I already had pulled ones in those colors out.

And the train. You can't have a tree without a train. Well at least in my family. Ever since I was a little girl, my grandpa had trains. Smaller ones than this, but he had a room all set up for his trains and there was a train around the Christmas tree. One year for Christmas, my parents bought me and each of my siblings this train so that we could have a train around our tree. It does make it difficult when putting the gifts under the tree, but the fun it adds makes it totally worth it!


My Version - My 7 year old races down stairs every morning just so she can put another magnet on. I used my Cricut to cut the lettering and I bought the magnets from KJMagnets.com. I used neodymium (the little silver magnets) because they are stronger and there are multiple layers of paint and paper so I wanted to make sure that it stuck. (Obviously I'm not as good a photographer!)

My version: Inspiration
I love Shanty-to-Chic.com ! They are very creative! They are the inspiration for many projects that I have done.
This is my kitchen table. It's ok now, but when I finally finish the table topper, it will be way cute. It will be one of those things that I finish after Christmas. I will post it when it is finished, but it will just have to be an inspiration for everyone next year.

I love nutcrackers! My parents started my collection with the one on the left (blue striped pants) when they brought it back from Germany. I have them all across the top of my kitchen cabinets. There are 21 in all. I try to purchase one each year, but have missed a couple of years or picked up a collection of 2 or 4 here and there. You can't see the full effect in the pics, but I have little lights around the base of the nutcrackers. It gives them a "glow" when it's darker. My hubby and I like the effect enough that we are talking about keeping the lights up there once I put all the normal decor back up.


That's about it for the kitchen, now off to the living room. I have an old trunk that a friend of mine bought many years ago, but is moving and can't take it with her, so I bought it from her. I love the vintage charm it brings. That is the original paper liner you see in the lid. My hubby and I bought the Jim Shore nativity the year that we were married. We love the detail that he puts into each piece.

I really like the look of hanging ornaments from the banister like here,
But I don't have garland and I am on a really tight budget this year, so I had to improvise. I had the ornaments (I only buy my holiday decorations after the holiday so that I get them at 50% off or more). I did buy the ribbon though at Hobby Lobby when it was 50% off.
We also collect Christmas lighthouses. My hubby and I love nautical inspired things, so when I found lighthouses as part of JoAnn's Christmas villages I started collecting them (on the piano). The ones on the table are Harbor Village brand and my hubby, knowing my love of light houses and the collection I had prior to us getting married, found these at a Ace Hardware of all places and so the collection grew.

Close-up of the ornaments on the banister

There aren't many fireplaces in Phoenix, so this is my mantel if you will. I use to put my nutcracker collection here, but changed it up this year after I made the NOEL and the subway art.

There are many of the NOEL's throughout blog-land. Here is a link with a tutorial: NOEL. I used
Rust-Oleum Hammered in Dark Bronze because I liked the metal look.
Here is a tutorial on how to make your own subway art: Subway art. Mine is 10x14, so you need to adjust the settings you enter, for the size, to 3000 and 4200.
(the key is 300 times the width and then 300 times the height that you want)
My tree. It is an artificial tree. I LOVE the smell of real trees, but being in Arizona, they dry out so dang fast. My hubby is from Oregon, so we did have real trees for a few years, but even he said that he wanted to go back to using an artificial tree. It is 12 foot tall and smaller around than a lot of artificial trees out there - but we like that because it doesn't take up as much space. We bought it at Sam's Club last year.

I have two girls from a prior marriage and as a result we have them for Christmas every other year. So I made a deal with them about 5 years ago, that the years that they are with us they get to decide how to decorate the tree and when they are with their dad, I get to pick how it is decorated. So they do it in bright colors like hot pink, turquoise, bright green and orange. It turns out really cute. But this year since they are with their dad, it's my turn to decide. So I decided on red, white and silver. I had this in mind a few years ago, so after Christmas for the last 2 years, I bought ornaments when they are 50% off or more, plus I went through all the ornaments that I already had pulled ones in those colors out.

Well that's about the extent of the decorations on the inside of the house. There are a few little things here and there that didn't make the cut for the pictures, but this is the majority of it. I hope you like and that it may inspire you for future Christmases.


