Showing posts with label Halloween. Show all posts

Friday, October 20, 2023

Time for Some Change - Halloween Pillow Update

I made these pillows many years ago with a craft group that I ran at the time. 

I get complements on them every year. 
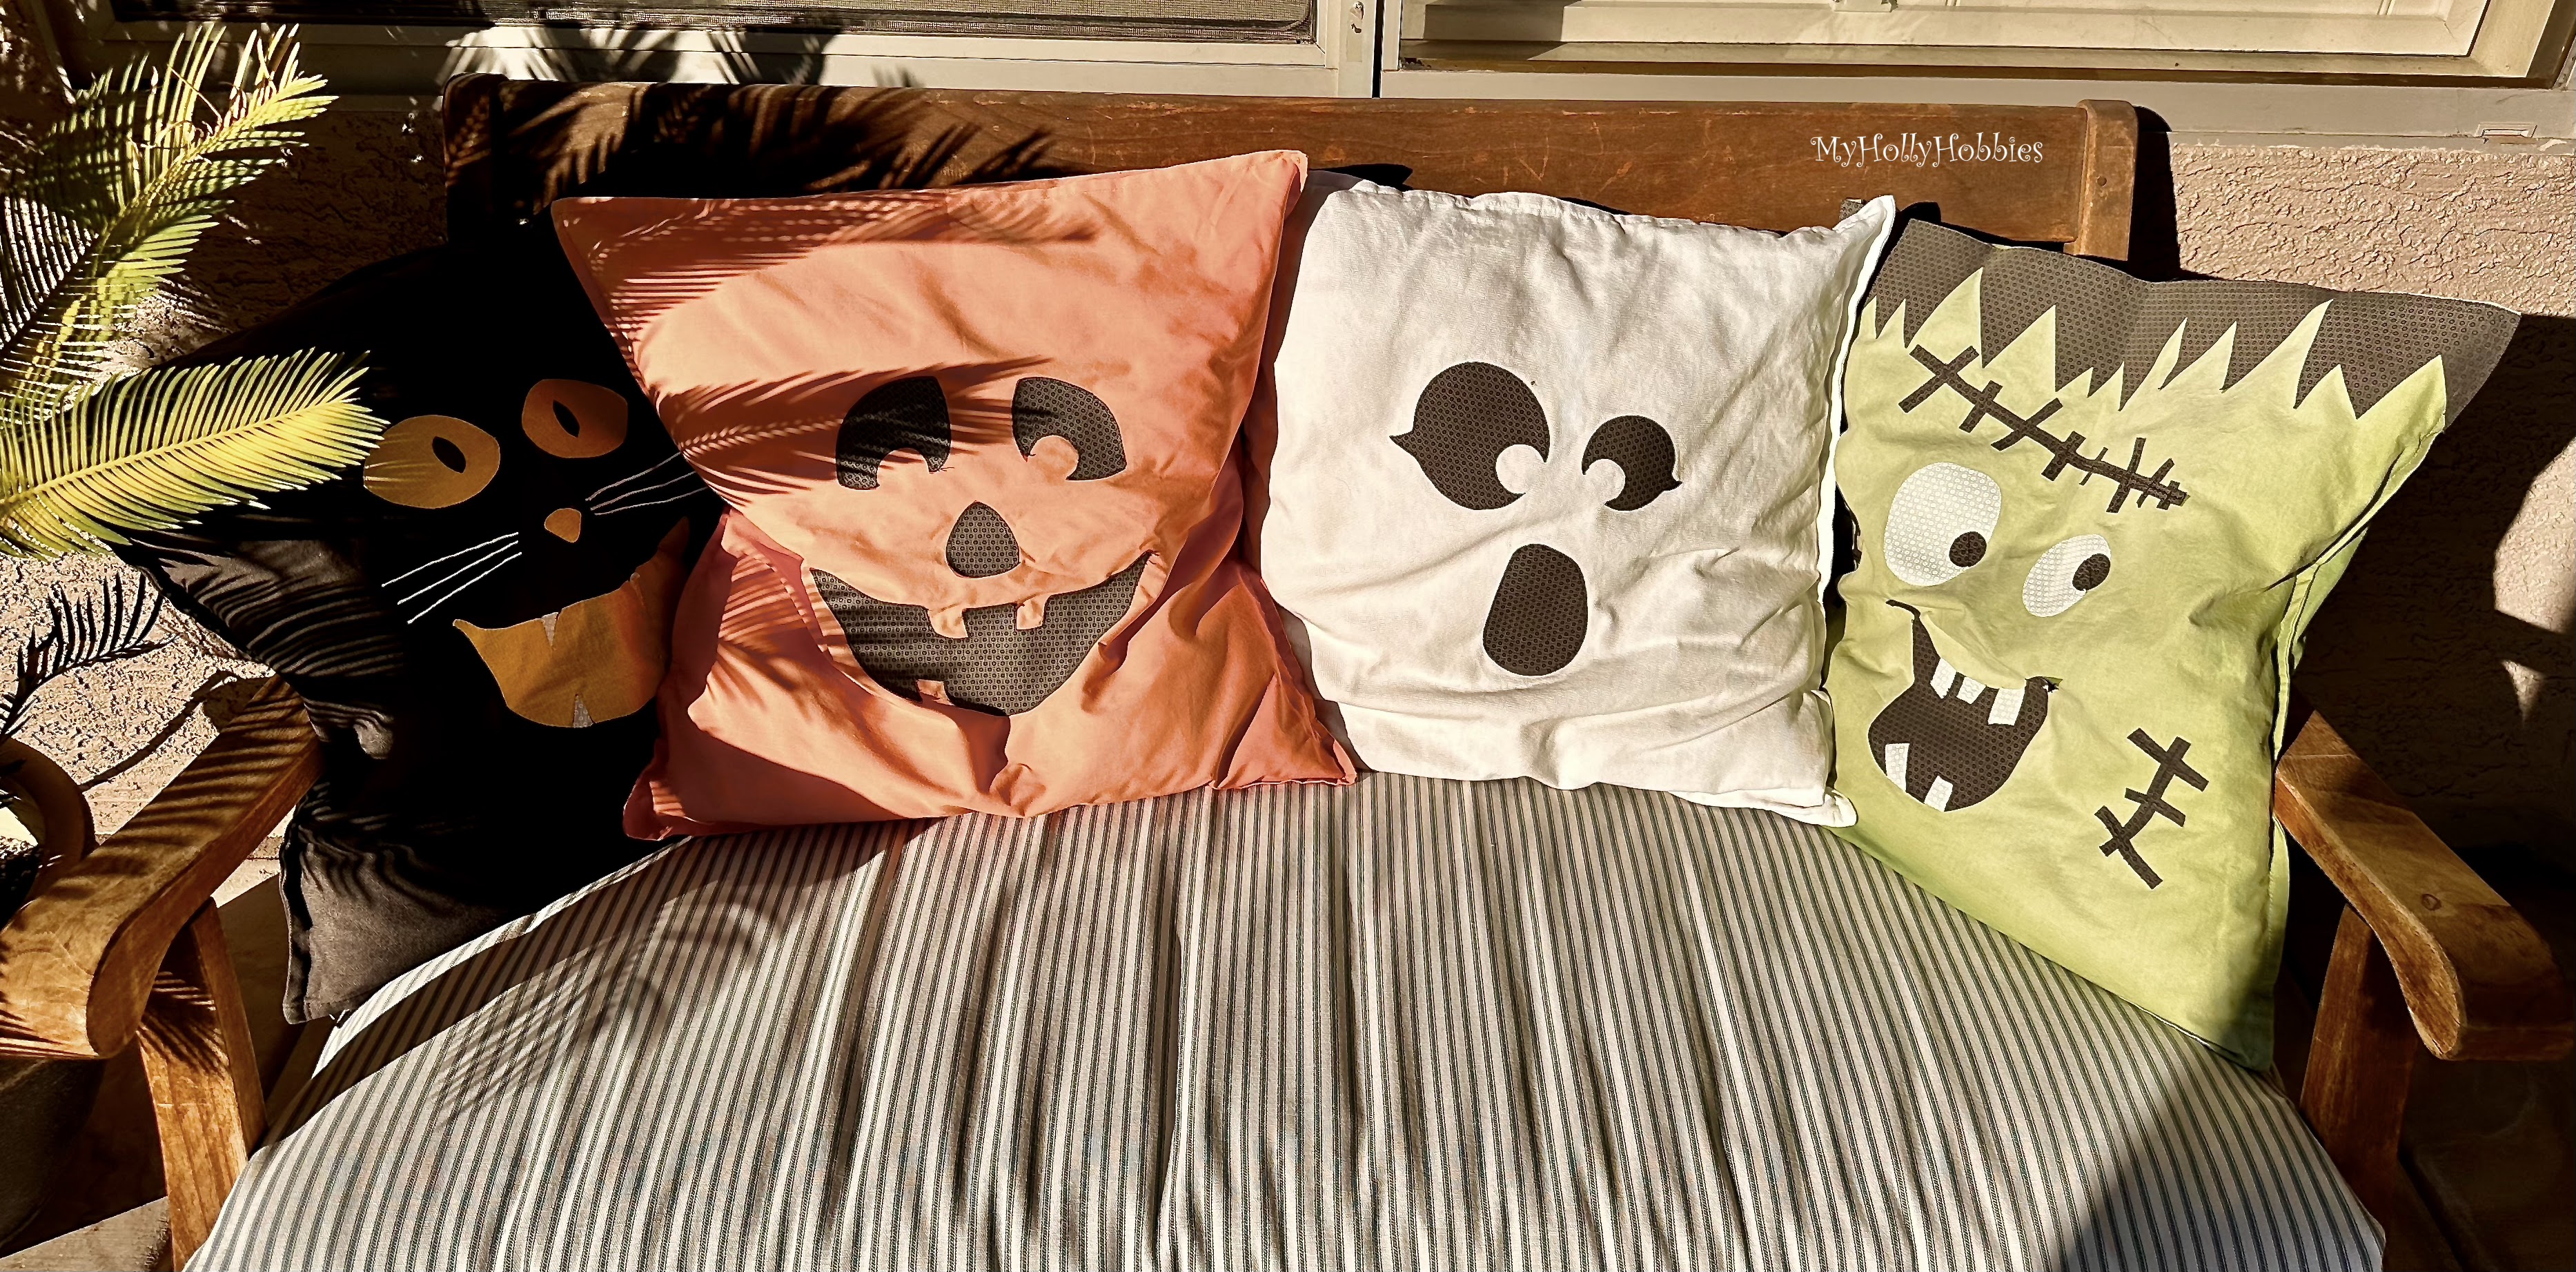

I got the inspiration from here. We used Gurli pillow covers from Ikea for the ghost and black cat.  They didn't have the colors needed for the jack-o-lantern or the Frankenstein, so I made those myself.  I made simple pocket pillow covers from cotton broadcloth.  I used small designed quilting fabrics to make the faces on each pillow. I used my Cricut to cut everything, some lightweight interfacing to attach them and then a basic stitch on the sewing machine around the edges to keep it all in place You can see it in the close up.

Unfortunately the Arizona sun is very hard on any fabric. As a result, they have faded a lot. 

So I thought I would update them this year.  My kids all like the Nightmare Before Christmas movie, so I created new ones based on the 3 main characters. 


I again used the Gurli pillow cover from Ikea.  This time they had green - huge time saver! Instead of using quilting fabric for the faces, I used a puff vinyl. It was extremely easy to use and I like the textured look it created. I used my Cricut to cut the vinyl. 


I'm not sure how the vinyl will hold up to the Arizona sun, but I thought I would give it a try.  Worse case scenario, I replace the vinyl with fabric in a few years.  I will keep you updated.

I LOVE how they turned out!  Hope you do too!

Happy Crafting!


Friday, November 30, 2012

Can it Still Be Haunting Time?

I'm really embarrassed at how late this is - It's almost the beginning of December, my Christmas decorations are almost all up and yet I'm just now posting about my Halloween decorations.
So here is some of what we did this year:
Countdown to Candy
I use the same cookie sheet that I use for my Christmas Advent Calendar. I change out the paper, which just sits inside the cookie sheet un-adhered to anything. And I glued the bow to a larger magnet so it can be changed out really easily.


Banner

On top of my armoire 
(I know it needs a little more especially on the plate side, but I haven't found the right thing yet)

Specimen Art 
(My cats decided to play on top of the piano and knocked my little lantern off and broke the glass hurricane that was in it - I'm now on a hunt for a tiny one to fit) 

Halloween "mantel" 
(this too is still missing something - I have been looking but everything that catches my eye is either orange or a pumpkin. So I'm still on the hunt for the right thing.)

And of course the placemats I shared with you HERE are on my kitchen table.

Sorry it's so late - Hopefully it will be an inspiration for next year.
Holly

Monday, September 10, 2012

Craft Group: Halloween Placemats

A quick apology for my lack of posts. The summer was a CRAZY, CRAZY summer. I'm back and hopefully won't be AWOL like that again.

As I have shared with you before, a friend and I host a monthly craft group. 
So our craft for September is Halloween Placemats.

 I bought painters drop cloth canvas (8oz).  I cut the 14"x18" rectangles using a rotary blade and cutting mat. Being lazy - I didn't feel like doing rolled hems - I used a decorative stitch about 1/4" in from the edge, then frayed the edges.  I think it adds to the look of the placemats.


Using my Cricut, I cut vinyl to use as stencils. I then stuck the reversed image of the vinyl on to the canvas. (The part I didn't want painted). Using painters tape and newspaper, I covered all the edges that were not covered by the vinyl. Then using Rustoleum black spray paint, I painted the canvas. 

Here are the designs that I used for mine:
You could add others ideas like witches and bats, Trick-or-Treat, etc... 


NOTE: My placemats have been washed twice so they do have a little weathered look.
Also, during Craft Group we had a couple of cans of Krylon paint.  Those that used the Krylon had a little bit darker black design-it didn't seep into the canvas as much as the Rustoleum. I do not know how those will wash up-I'm assuming similar to mine.

Happy Crafting!
Holly